Step By Step: How To Install An SSD Hard Drive In A Computer Case 3.5' Slot/Socket

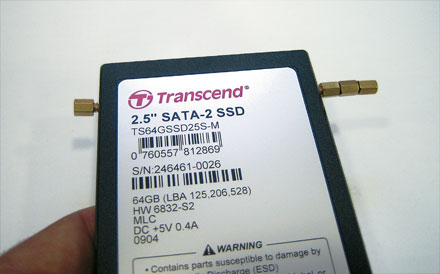
An SSD drive is one of the best options one has for some serious upgrade of their computer performance. SSD drives got no moving parts and are amazingly faster than usual hard drives; they might have smaller capacities, but they make up for it with their tremendous speed in file operations. If a user installs the operating system on one of them, the computer will handle every single process way faster than before.
What is rather weird, however, is that only few of SSD drives manufacturers have chosen to make a 3.5 inch SSD drive; instead they manufacture 2.5' and 1.8' models, as if they are only made for notebooks and other portable devices. As a result, desktop computer users had to place the drive inside case with homemade unreliable ways, or even place it at bottom of case. The other option is to buy a specializd 3.5 inch socket, but that costs a bit and adds up to the initial cost of the hard drive itself.
With this guide you will be able to easily setup a way to mount the SSD drive on the standard 3.5' socket of your computer case, spending almost no money at all. All you need is a few screws (the kind that is used for motherboard mounting) and their relative socket-screws ( the ones which are screws at the metalic sheet below the motherboard).
Step One
As shown in the photo, we screw the mounting sockets on the mounting holes of the SSD. At one side we screw one mounting socket and at the other side we screw 3, each goes inside the previous one.
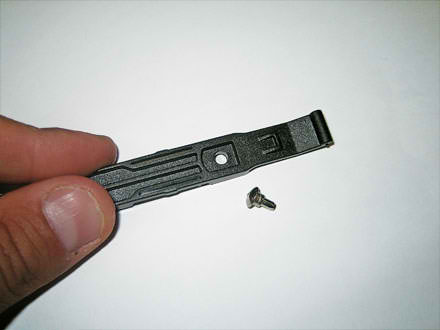
Step Two
We are ready to add the mounting brackets. These are ready to screw on 3.5' hard drives. We remove the screws but keep the holes open.

Step Three
Screw the mounting sockets on the hard drive sides, taking note of the holes and screws positions. Screw firmly but not too hard.

Step Four
The SSD is screwed in place and as shown in the picture it is steady and secure. Removing the SSD will also be easy by unscrewing the screws.


